由 naive-ui 的作者维护,并且 naive-ui 也使用了该库
文档地址:https://css-render.vercel.app
它仅仅作为一个 css 生成器,有点像 scss 的 js 实现,在代码层面与组件没有关联性
作者也在文档中建议使用 css-render 开发组件库而不是应用
并且带有一个简单的插件系统,作者维护了一个 BEM 插件,naive-ui 的样式大部分都通过该库配合 BEM 插件构建
默认导入该库并初始化后,其 c 方法是核心
import CssRender from 'css-render';
const { c } = CssRender();
c 方法可以传三个参数:
第一个参数是选择器,支持 & 语法选中父选择器;
第二个参数是该选择器的样式;
第三个参数是孩子样式,传递一个数组,数组项都为 c 方法执行的结果;第二个参数是可选的,可以在直接在第二个参数上传孩子样式数组
c('.cls', { color: 'red' }, [
  c('.child', { backgroundColor: 'gray' }),
  c('&.blue', { color: 'blue' }),
]);
上面代码构建的样式会长这样
.cls {
  color: red;
}
.cls .child {
  background-color: gray;
}
.cls.blue {
  color: blue;
}
渲染有两种方法,第一种是生成为字符串
const style = c('.cls', { color: 'red' }, [
  c('.child', { backgroundColor: 'gray' }),
  c('&.blue', { color: 'blue' }),
]);
style.render(); // 该方法返回 css 字符串
如果我们需要自定义参数来构建,可以在 render 中直接传递对象参数
const style = c('.cls', ({ props }) => ({ color: props.color }), [
  c('.child', ({ props }) => ({
    backgroundColor: 'gray',
    color: props.childColor,
  })),
  c('&.blue', { color: 'blue' }),
]);
style.render({ color: 'green', childColor: 'gray' });
第二种方法是构建 style 标签挂载到浏览器头部
const style = c('.cls', { color: 'red' }, [
c('.child', { backgroundColor: 'gray' }),
c('&.blue', { color: 'blue' }),
]);
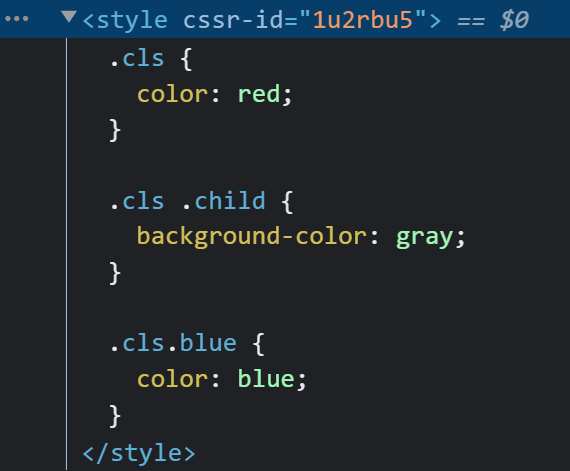
style.mount(); // 返回值为 style 标签的 DOM 对象
可以看到标签上自动生成了 cssr-id,该 id 通过 @emotion/hash 生成,该库可以通过样式内容生成一个唯一哈希值
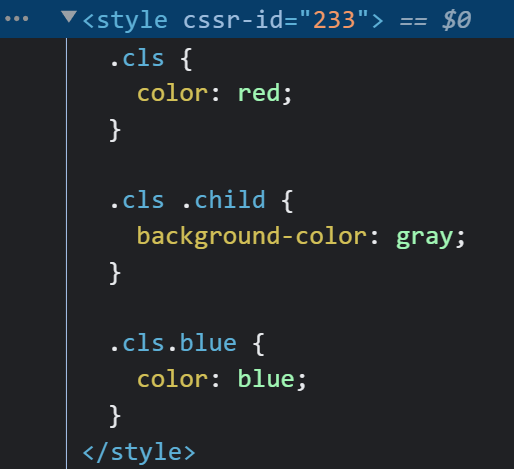
也可以手动控制 id
style.mount({ id: '233' });
当然也可以自定义参数,只不过需要在对象的 props 上传递
style.mount({ props: { color: 'green', childColor: 'gray' } });
第一和第二个参数都可以传一个方法,其返回值会作为对应的参数传递,方法接收一个 option 对象参数,有两个属性:
context: 上下文,供插件开发者使用的玩意,不用在意
props: 后续渲染样式时传递的参数
同时选择器还有更高级的用法,可以传递一个对象,能够定义钩子函数,在样式渲染前后进行一些操作
除此之外还有 SSR 等等支持,具体看文档